
Documentation/Quickstart
Quickstart
Get from a fresh LeadReply account to a working AI chat widget on your website in about ten minutes.
What you'll set up
By the end of this guide your website will have a floating chat widget that answers visitor questions using your own FAQs and business info, and saves contact details of people who want to hear from you into your Lead Inbox.
The whole flow looks like this:
- Create an account and tell LeadReply about your business.
- Write a few FAQ answers the AI can use.
- Style the widget to match your brand.
- Update your privacy and cookie notices before publishing the widget.
- Paste one script tag into your site.
- Watch conversations and leads arrive in your dashboard.
1. Create your account
Go to the signup page and create an account with your email and a password, then confirm your email and choose a plan. Starter comes with a 7-day free trial: you add a card at checkout, and nothing is charged if you cancel before the trial ends.
Tip
2. Add your business context
Right after signup, onboarding walks you through — Business, Knowledge, Answers, Contact, Style. Here's what each one collects and what it gives you:
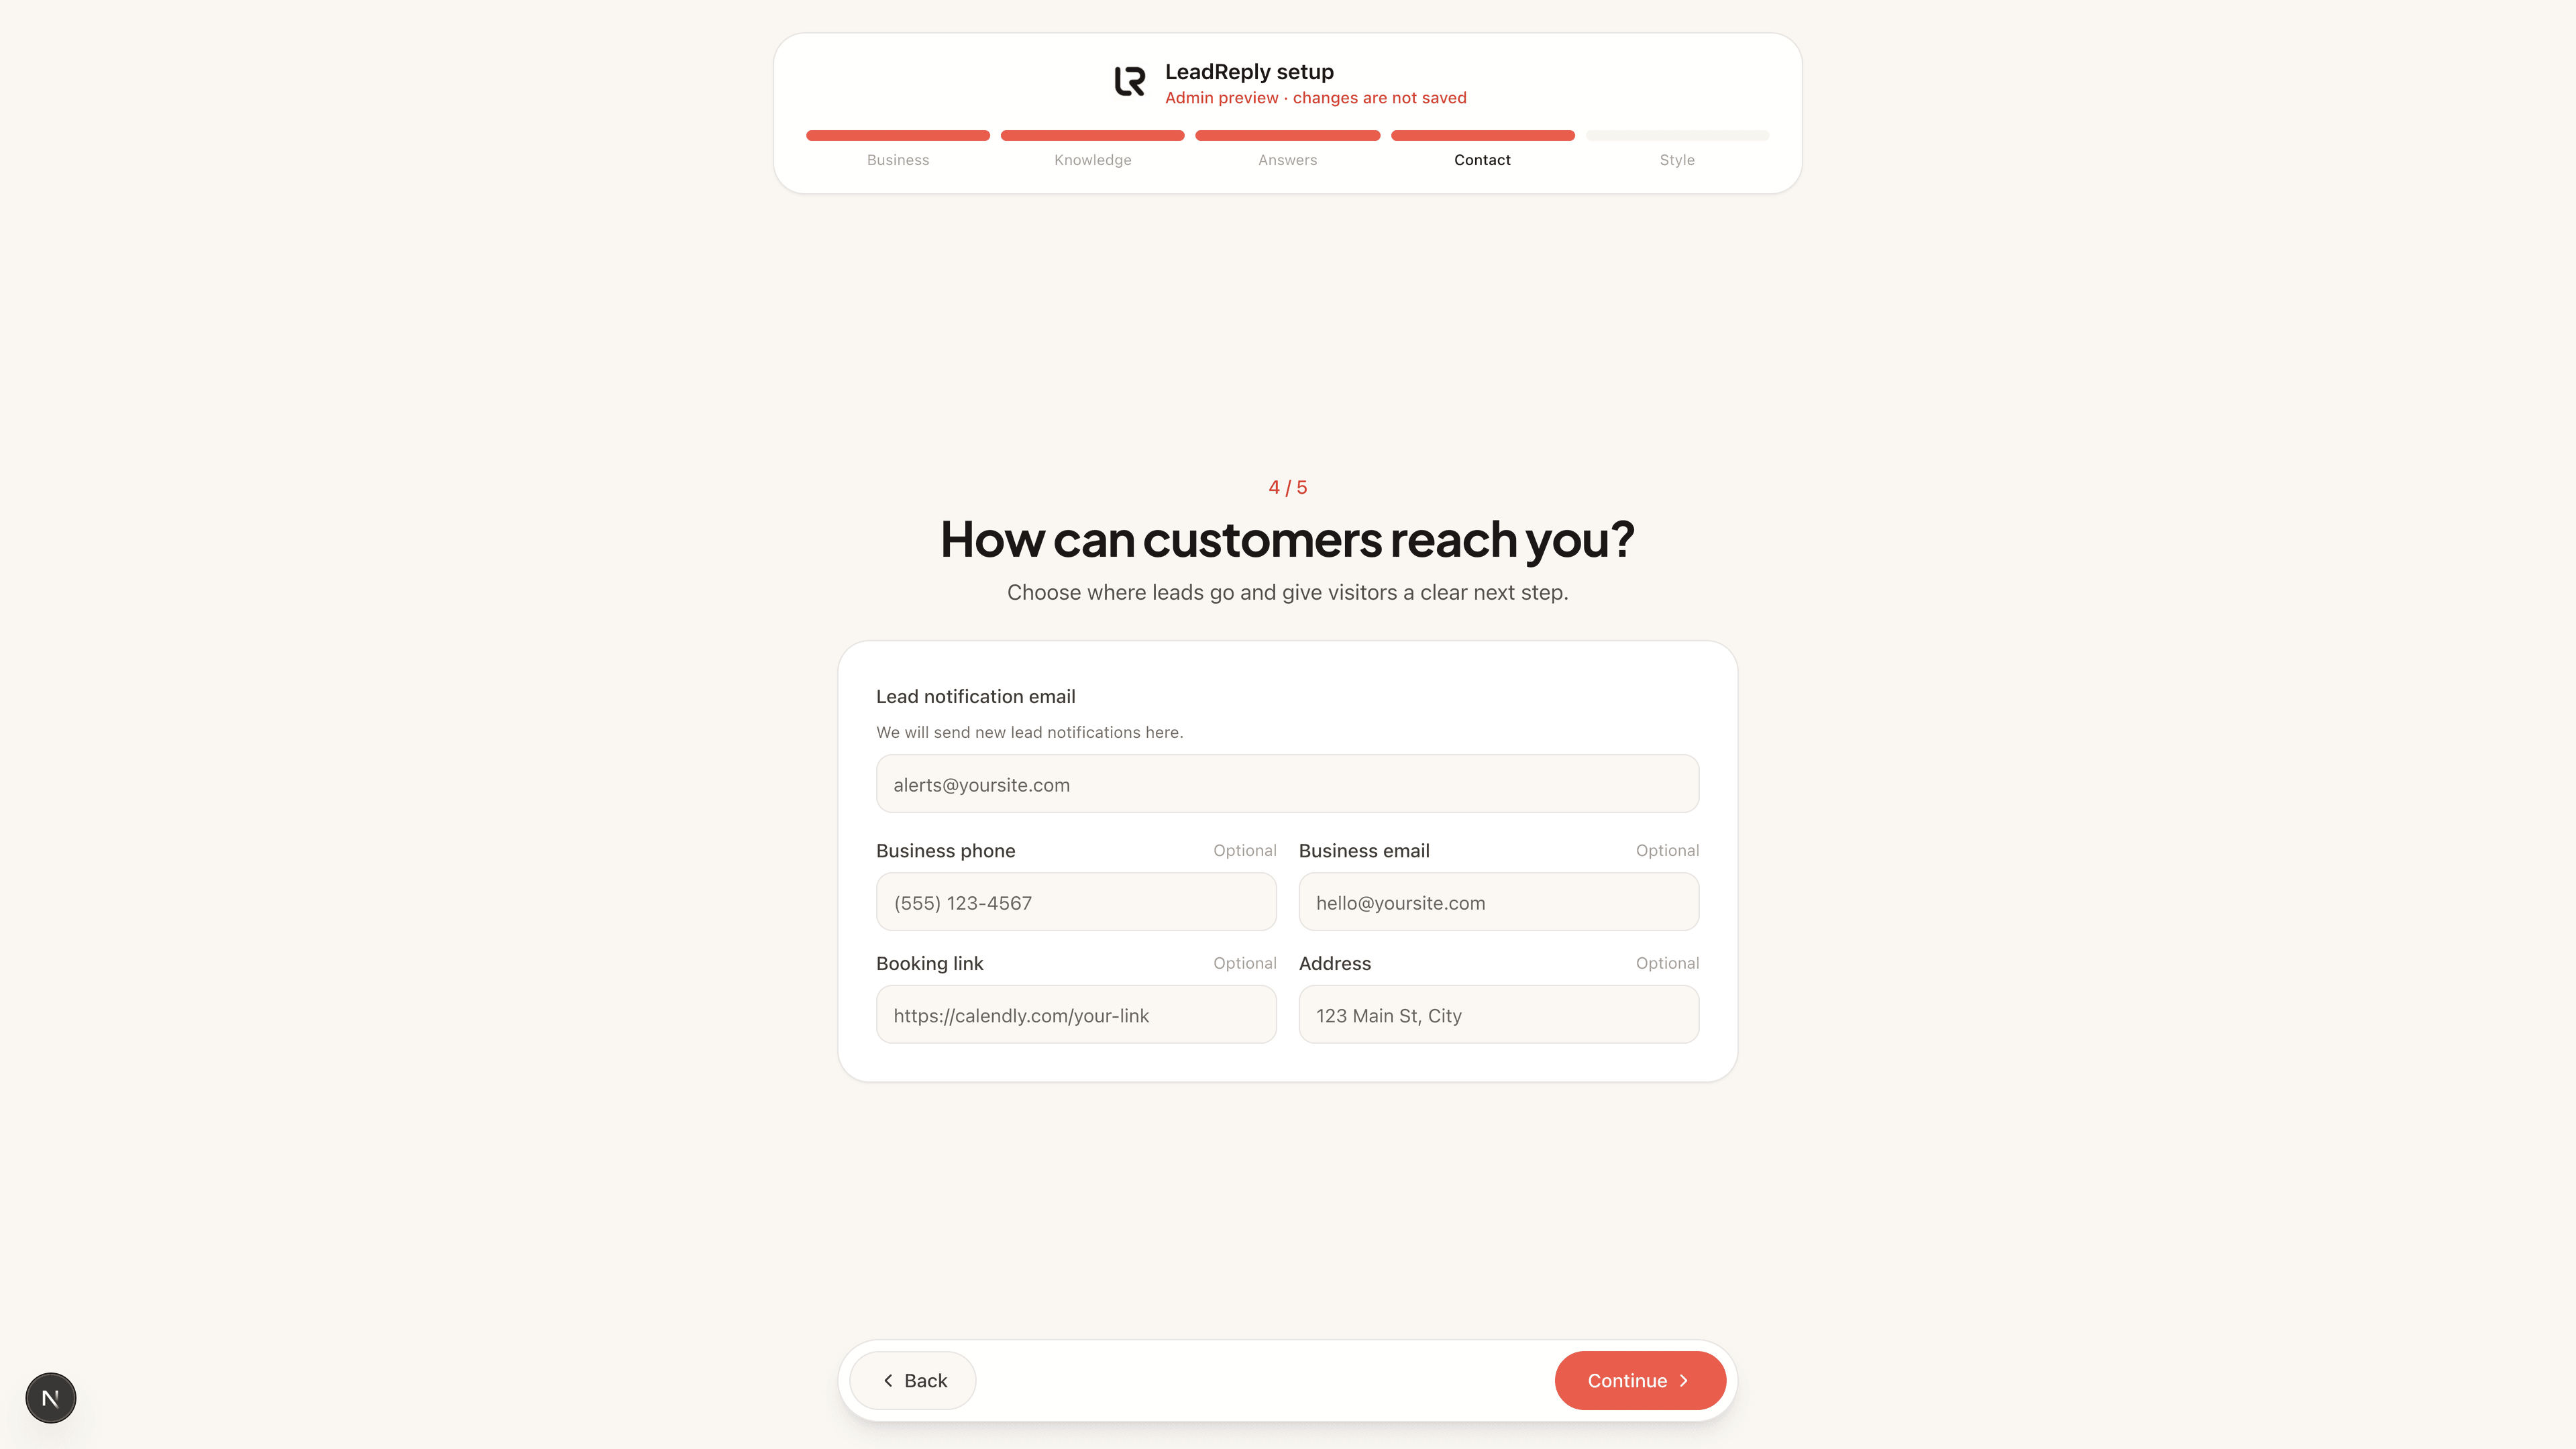
- Business — your name, industry, location and what you do. This becomes the AI's basic understanding of who you are.
- Knowledge — opening hours, service area, policies, anything visitors commonly ask. The deeper this is, the fewer questions bounce.
- Answers — your first FAQs, which double as tappable suggestion buttons in the chat.
- Contact — where leads should go and what next step you want visitors to take (call, book, email).
- Style — colors and greeting so the widget looks like your brand from day one.
By the time you finish onboarding your widget is roughly 80% ready: it can greet, answer, and capture leads immediately. You don't need to write perfect marketing copy — short, factual sentences work best: “We repair residential roofs in Austin and Round Rock. Emergency calls are answered 24/7.”
Tip
3. Write your first FAQs
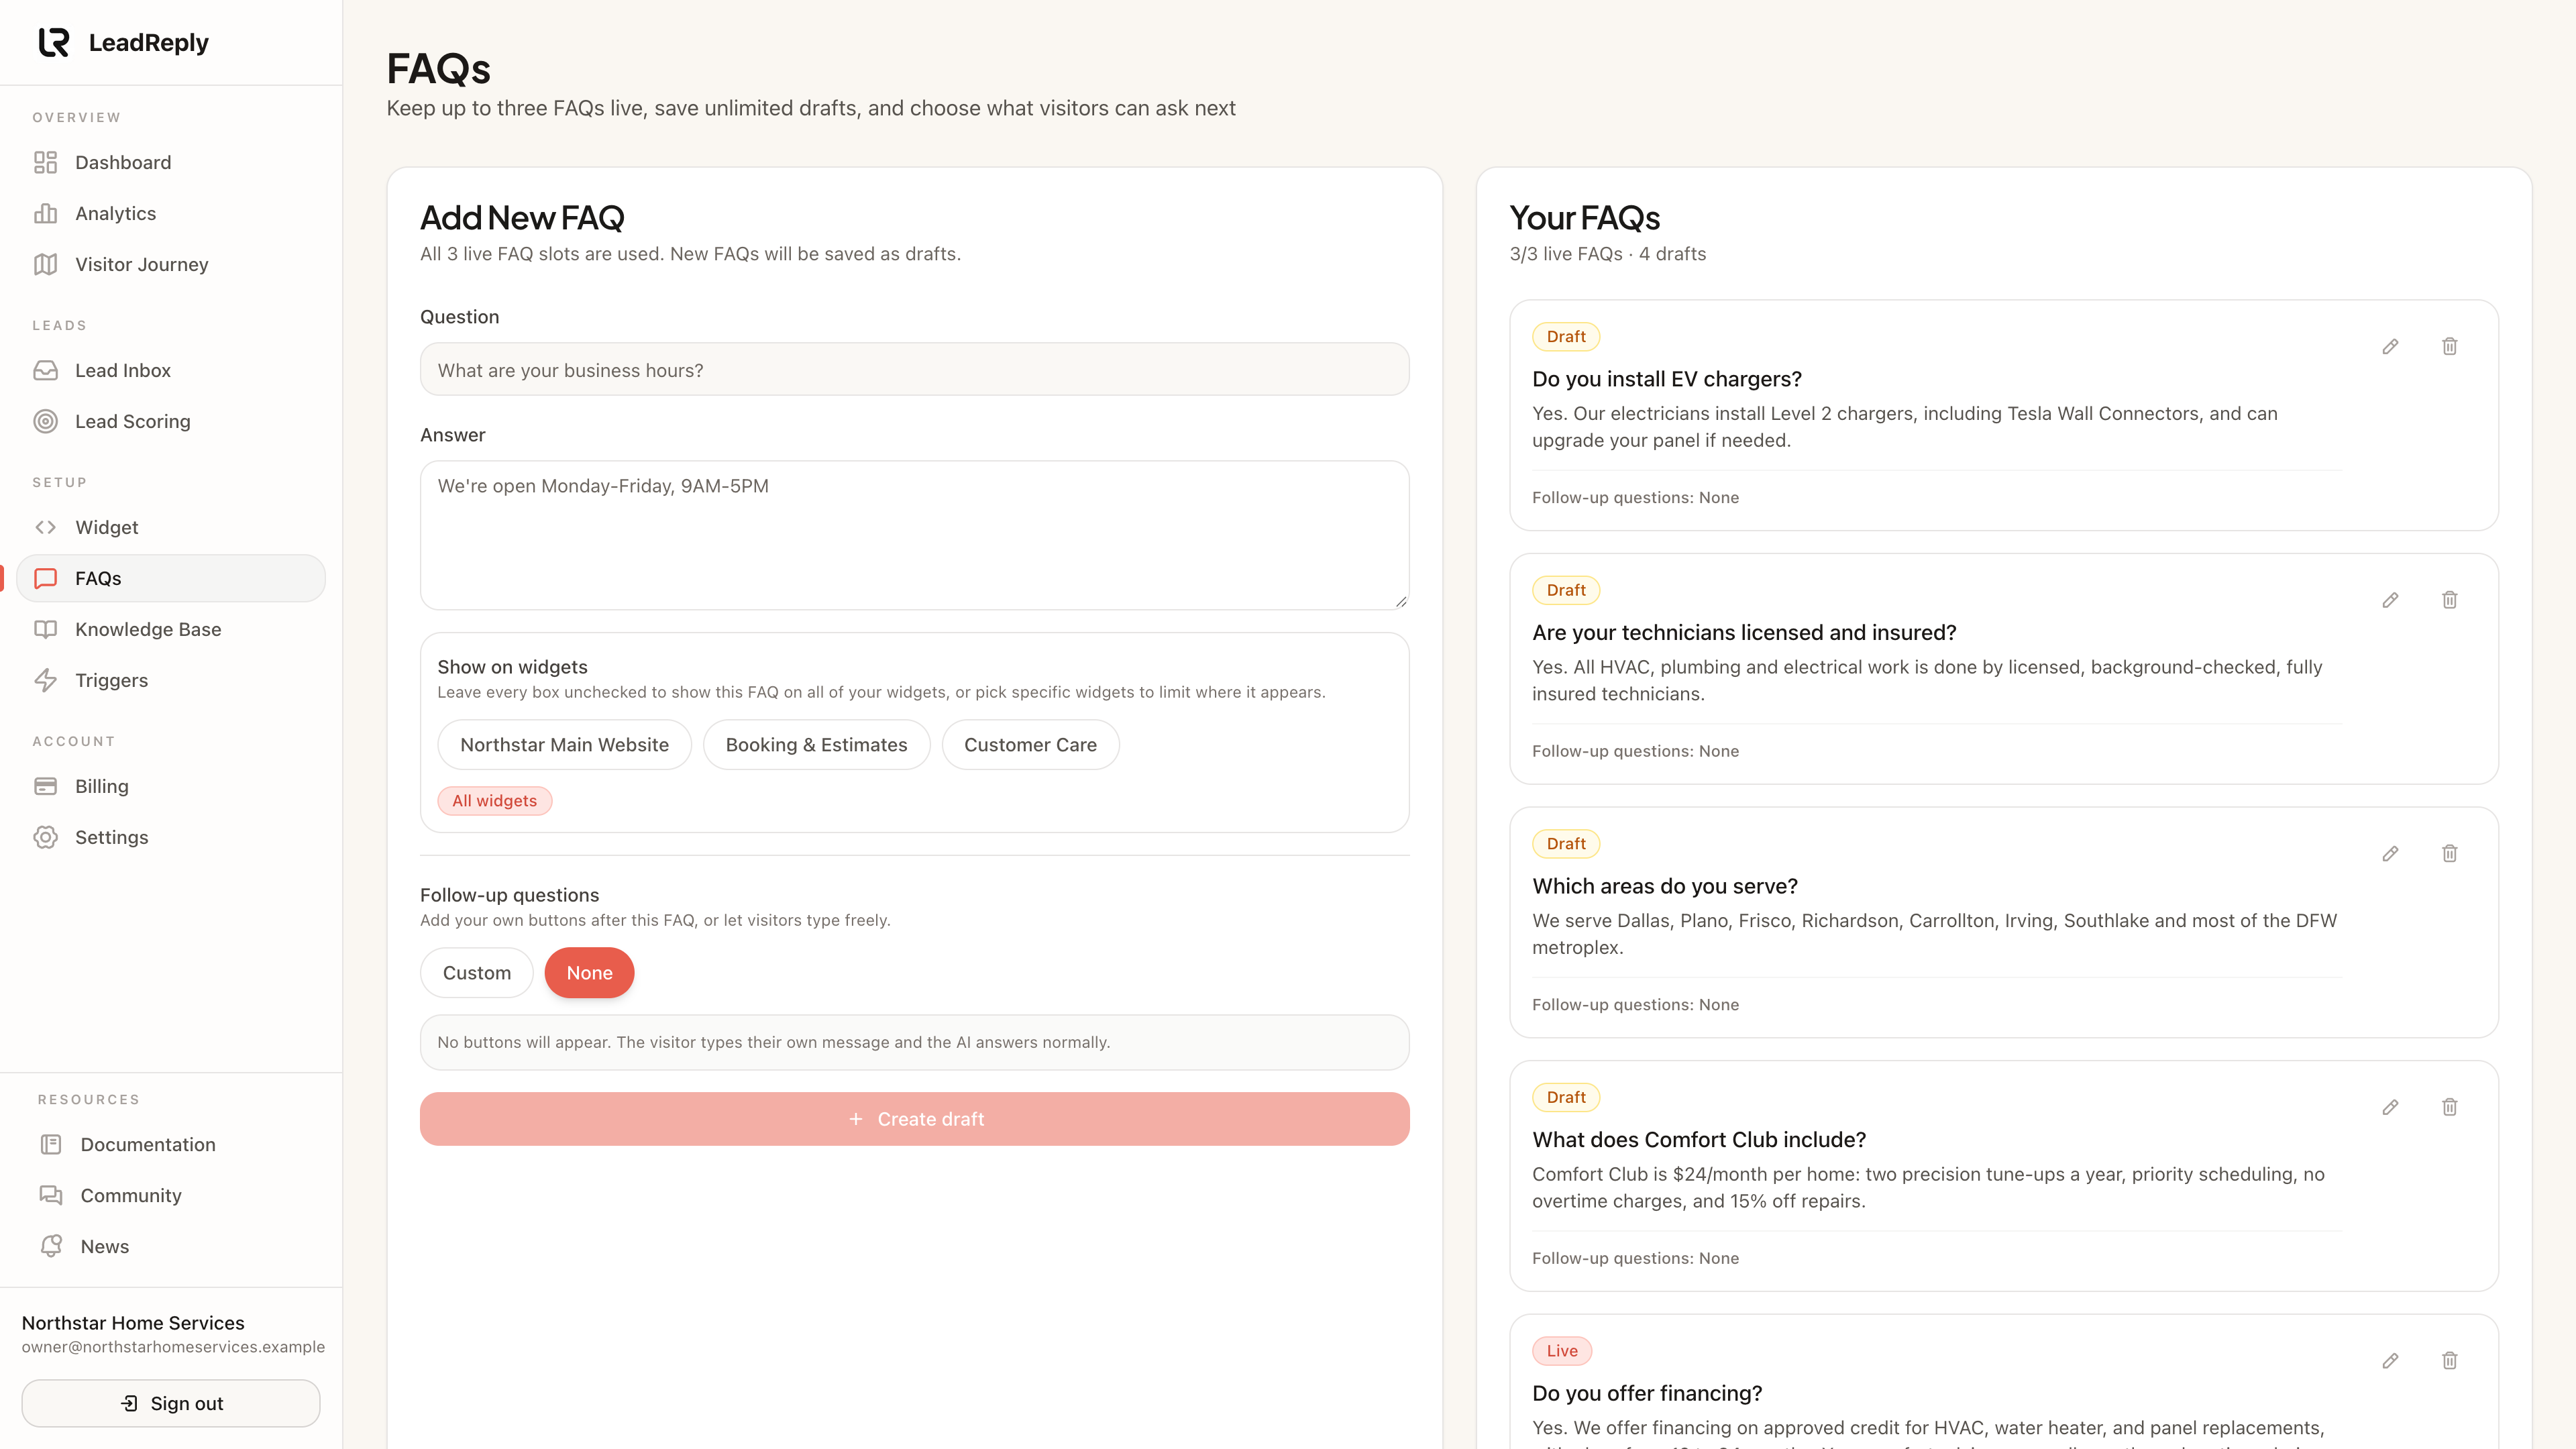
In Dashboard FAQs you add the questions visitors ask most, each with the exact answer you want given. These appear two ways:
- As suggested buttons inside the chat, so visitors can tap them instead of typing.
- As source material the AI reads before answering free-typed questions.
Start with 3–5: pricing, opening hours, service area, booking process, and the one weird question you get every week. Details in FAQs.
4. Style the widget (optional but fun)
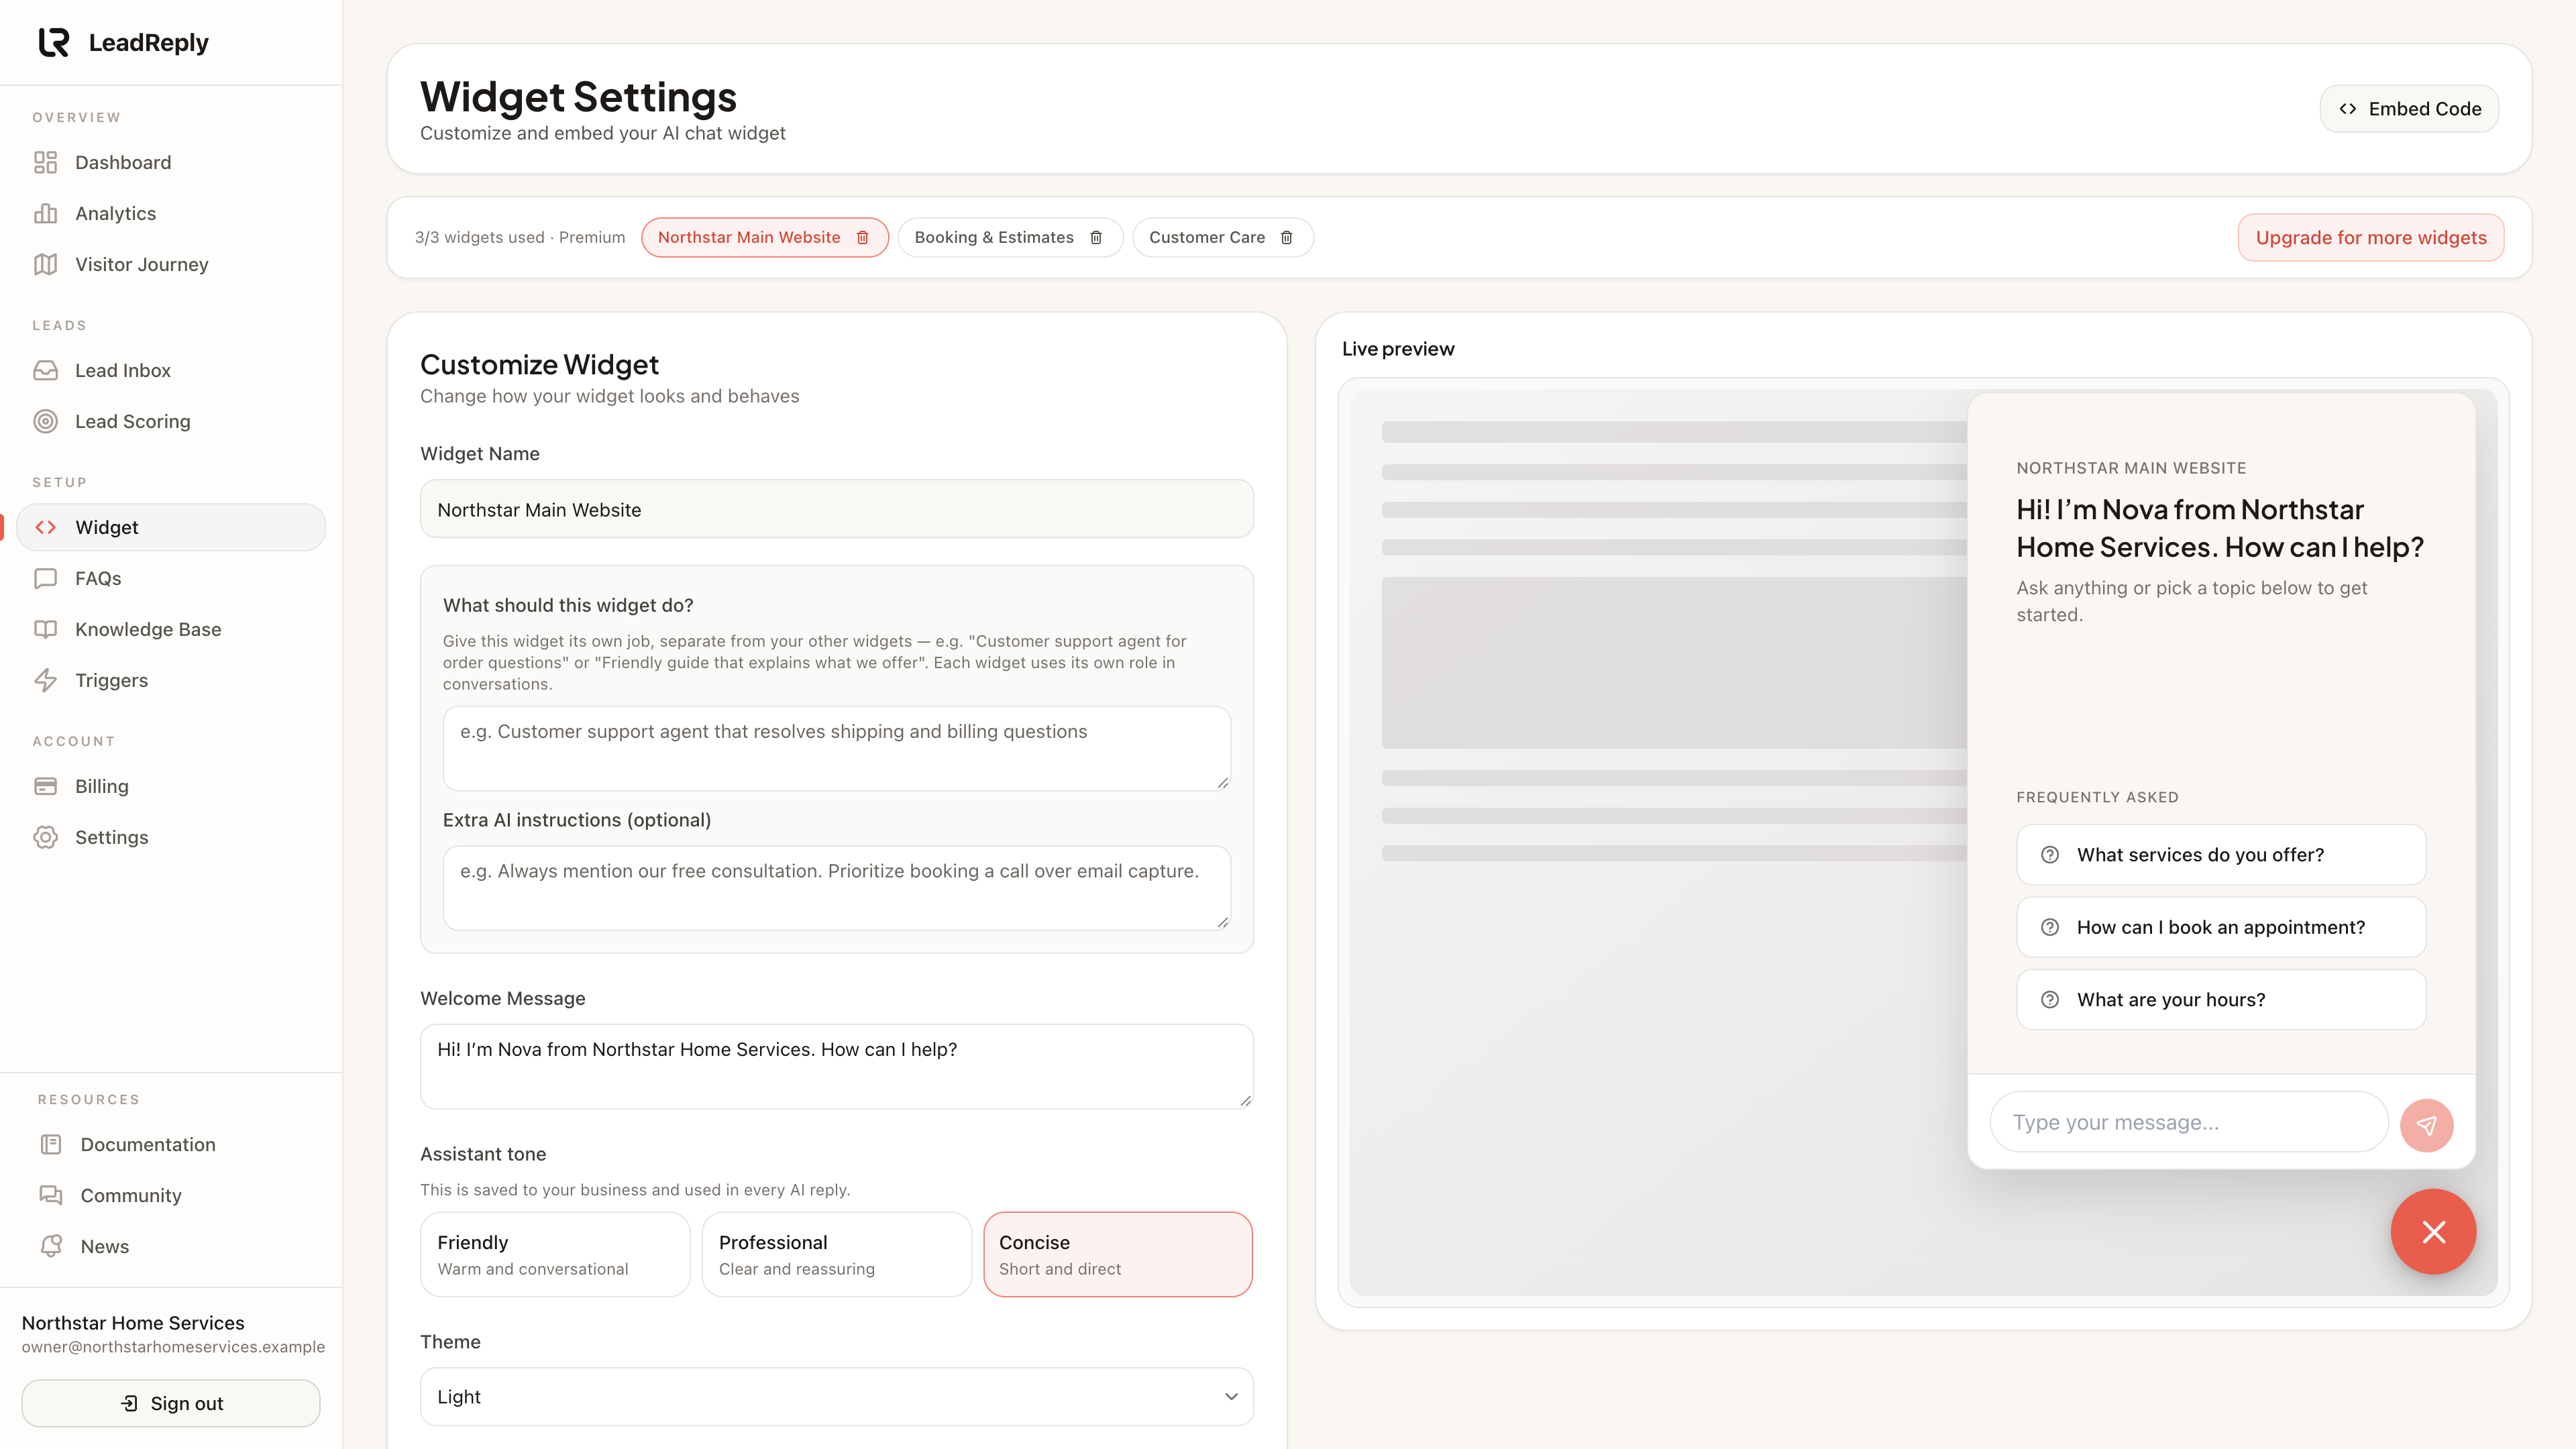
Under Dashboard Widget Customization you can pick your brand colors, write the greeting message, choose which corner the widget sits in, and decide on which pages it appears. Your changes preview live as you edit. See Customization.
5. Install the snippet on your site
Note
Open Dashboard Widget Settings and copy your install snippet — a small script tag that loads the widget. Paste it into the <head> of every page where the widget should be available.
We have copy-paste instructions for plain HTML, React/Next.js, WordPress, Wix, Shopify and Squarespace in Installing the widget.
Note
6. Test it end to end
- Open your live website in a private browser window.
- The widget bubble should appear within a second or two.
- Ask it one of your FAQs — the answer should match what you wrote.
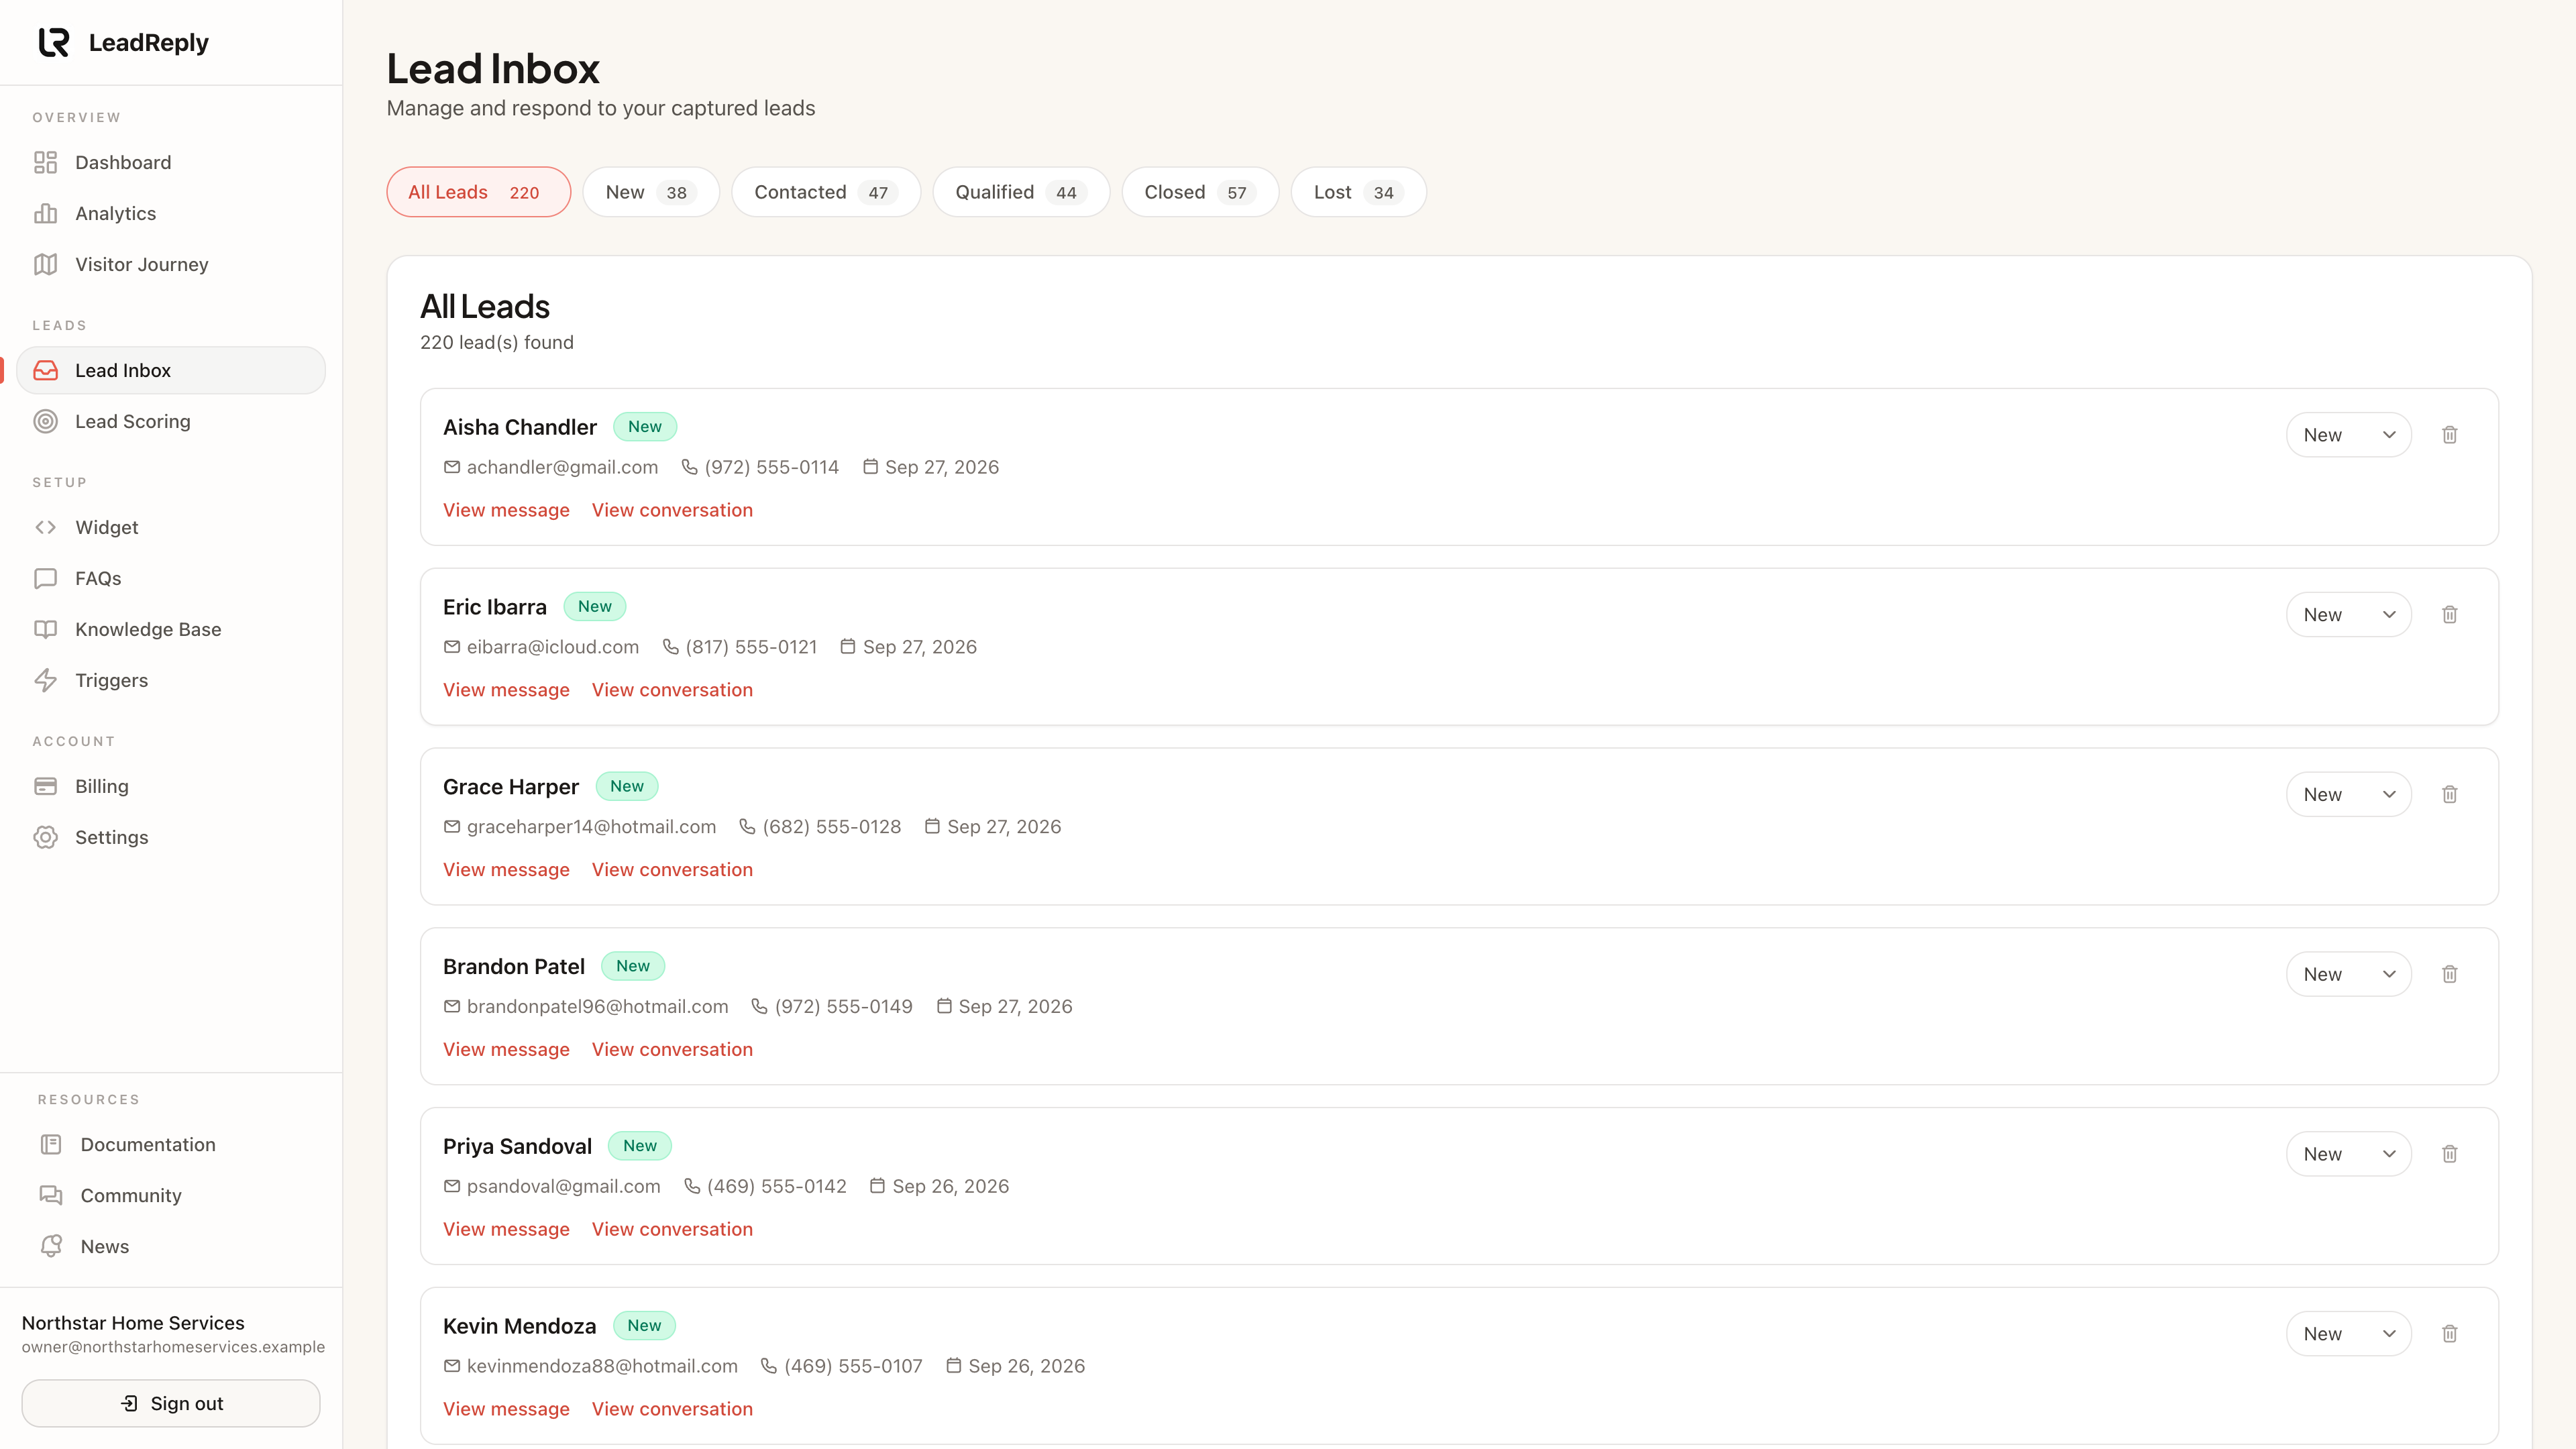
- Give it your name and email when prompted — check the Lead Inbox.
If the bubble doesn't show up, see the troubleshooting section of Installing the widget.
What's next
- Teach the AI deeper details with the Knowledge Base.
- Make the chat open itself at the right moment with Triggers & proactive chat.
- Let returning visitors continue earlier chats — Continued conversations explains it.
- Need both a support and a sales assistant? See One business, several AI agents.
- Prefer an AI coding assistant to install for you? The Install with AI page has a ready prompt for code editors and for site builders.
- Understand plan limits and billing in Plans & billing.
Questions along the way? The community Q&A board is answered by the LeadReply team and other business owners.
Media
Previous
Introduction
What LeadReply is and how the pieces fit together
Next
Update your privacy policy
What to disclose, wording to adapt, and a before-launch checklist
Questions & answers
Ask about this page — the LeadReply team and other readers can answer and upvote.
Log in to ask a question, reply, or upvote. Reading is open to everyone.
Loading discussion…