
Documentation/Installing the widget
Installing the widget
One script tag is all it takes. Pick your platform below — most installs take under five minutes.
Before you start
Note
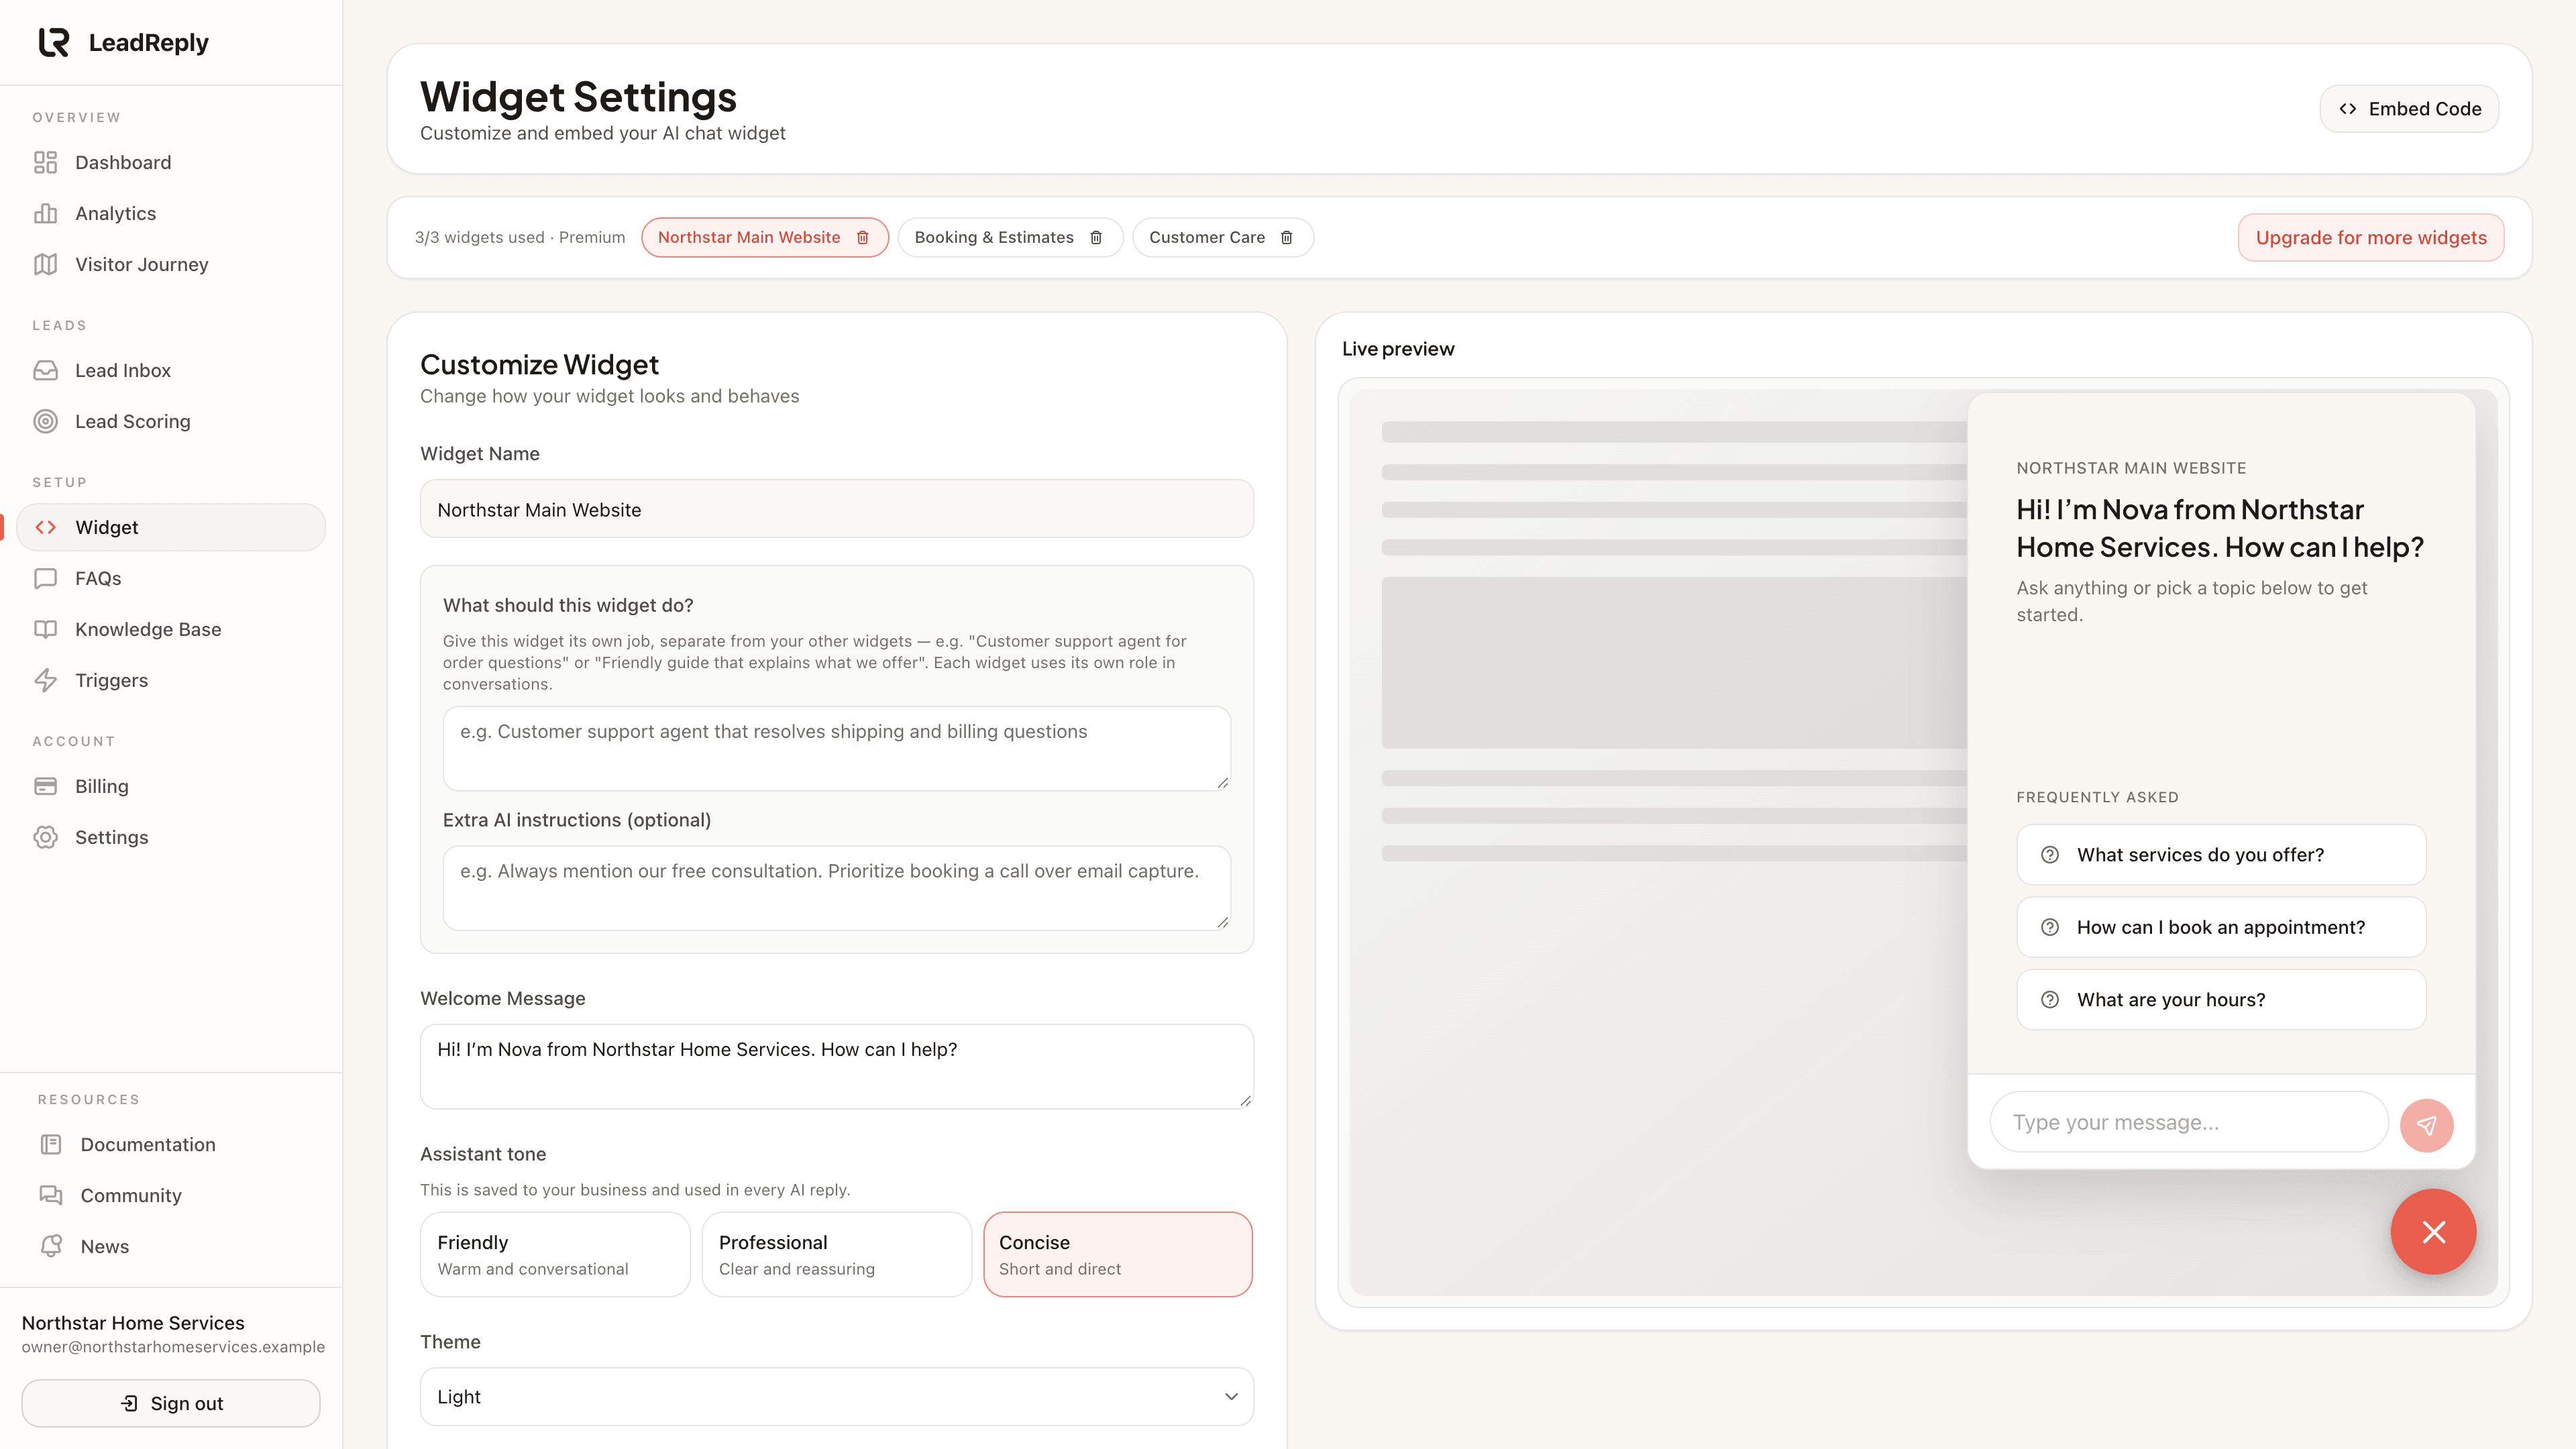
The quickest route is Dashboard Show install steps. Pick your platform there and the code comes with your widget key already filled in. It also has a button that emails the steps to whoever looks after your website.
The examples on this page use YOUR_WIDGET_KEY. Replace it with your own key, which starts with lr_.
Important
Any website (HTML)
Paste this just before the closing </head> tag on every page where the widget should appear. If your site has a shared header or template file, paste it there once.
<script src="https://leadreply.xyz/widget/embed?key=YOUR_WIDGET_KEY" async></script>That one tag is everything. It loads in the background without slowing your page, and it works on single-page apps too: the widget notices page changes on its own.
Next.js
Add Next.js's built-in Script component to your root layout. It works in a server layout, so you don't need "use client" or a separate component:
// app/layout.tsx
import Script from 'next/script'

export default function RootLayout({ children }: { children: React.ReactNode }) {
  return (
    <html lang="en">
      <body>
        {children}
        <Script
          src="https://leadreply.xyz/widget/embed?key=YOUR_WIDGET_KEY"
          strategy="afterInteractive"
        />
      </body>
    </html>
  )
}
Using the Pages Router instead? Put the same tag in pages/_app.tsx:
// pages/_app.tsx
import type { AppProps } from 'next/app'
import Script from 'next/script'

export default function App({ Component, pageProps }: AppProps) {
  return (
    <>
      <Component {...pageProps} />
      <Script src="https://leadreply.xyz/widget/embed?key=YOUR_WIDGET_KEY" strategy="afterInteractive" />
    </>
  )
}
React (Vite, Create React App and other single-page apps)
Paste the script tag into your index.html (in Create React App it's public/index.html). You don't need a React component. The widget follows route changes by itself.
<!-- index.html (Vite, Create React App, or any single-page app) -->
<head>
  ...
  <script src="https://leadreply.xyz/widget/embed?key=YOUR_WIDGET_KEY" async></script>
</head>
WordPress
- Go to Plugins Add New Plugin, search for WPCode, then install and activate it.
- Open Code Snippets Header & Footer.
- Paste the HTML snippet into the Header box and click Save Changes.
Note
</head> in header.php, but a theme update can overwrite it.Shopify
- In your Shopify admin, go to Online Store Themes.
- Next to your current theme, open the three-dot menu (…) and choose Edit code.
- In the Layout folder, open
theme.liquid. - Paste the snippet just above
</head>and click Save.
Important
theme.liquid again. The widget doesn't appear on Shopify's checkout pages, where Shopify doesn't allow custom code.Wix
- In your Wix dashboard, go to Settings Development & integrations Custom Code.
- Click + Add Custom Code and paste the HTML snippet.
- Under Add Code to Pages, choose All pages and Load code on each new page.
- Under Place Code in, choose Head, then click Apply.
Note
Squarespace
- Open Code injection (search “Code injection” in your site's settings).
- Paste the snippet into the Header field.
- Click Save.
Note
Check that it's working
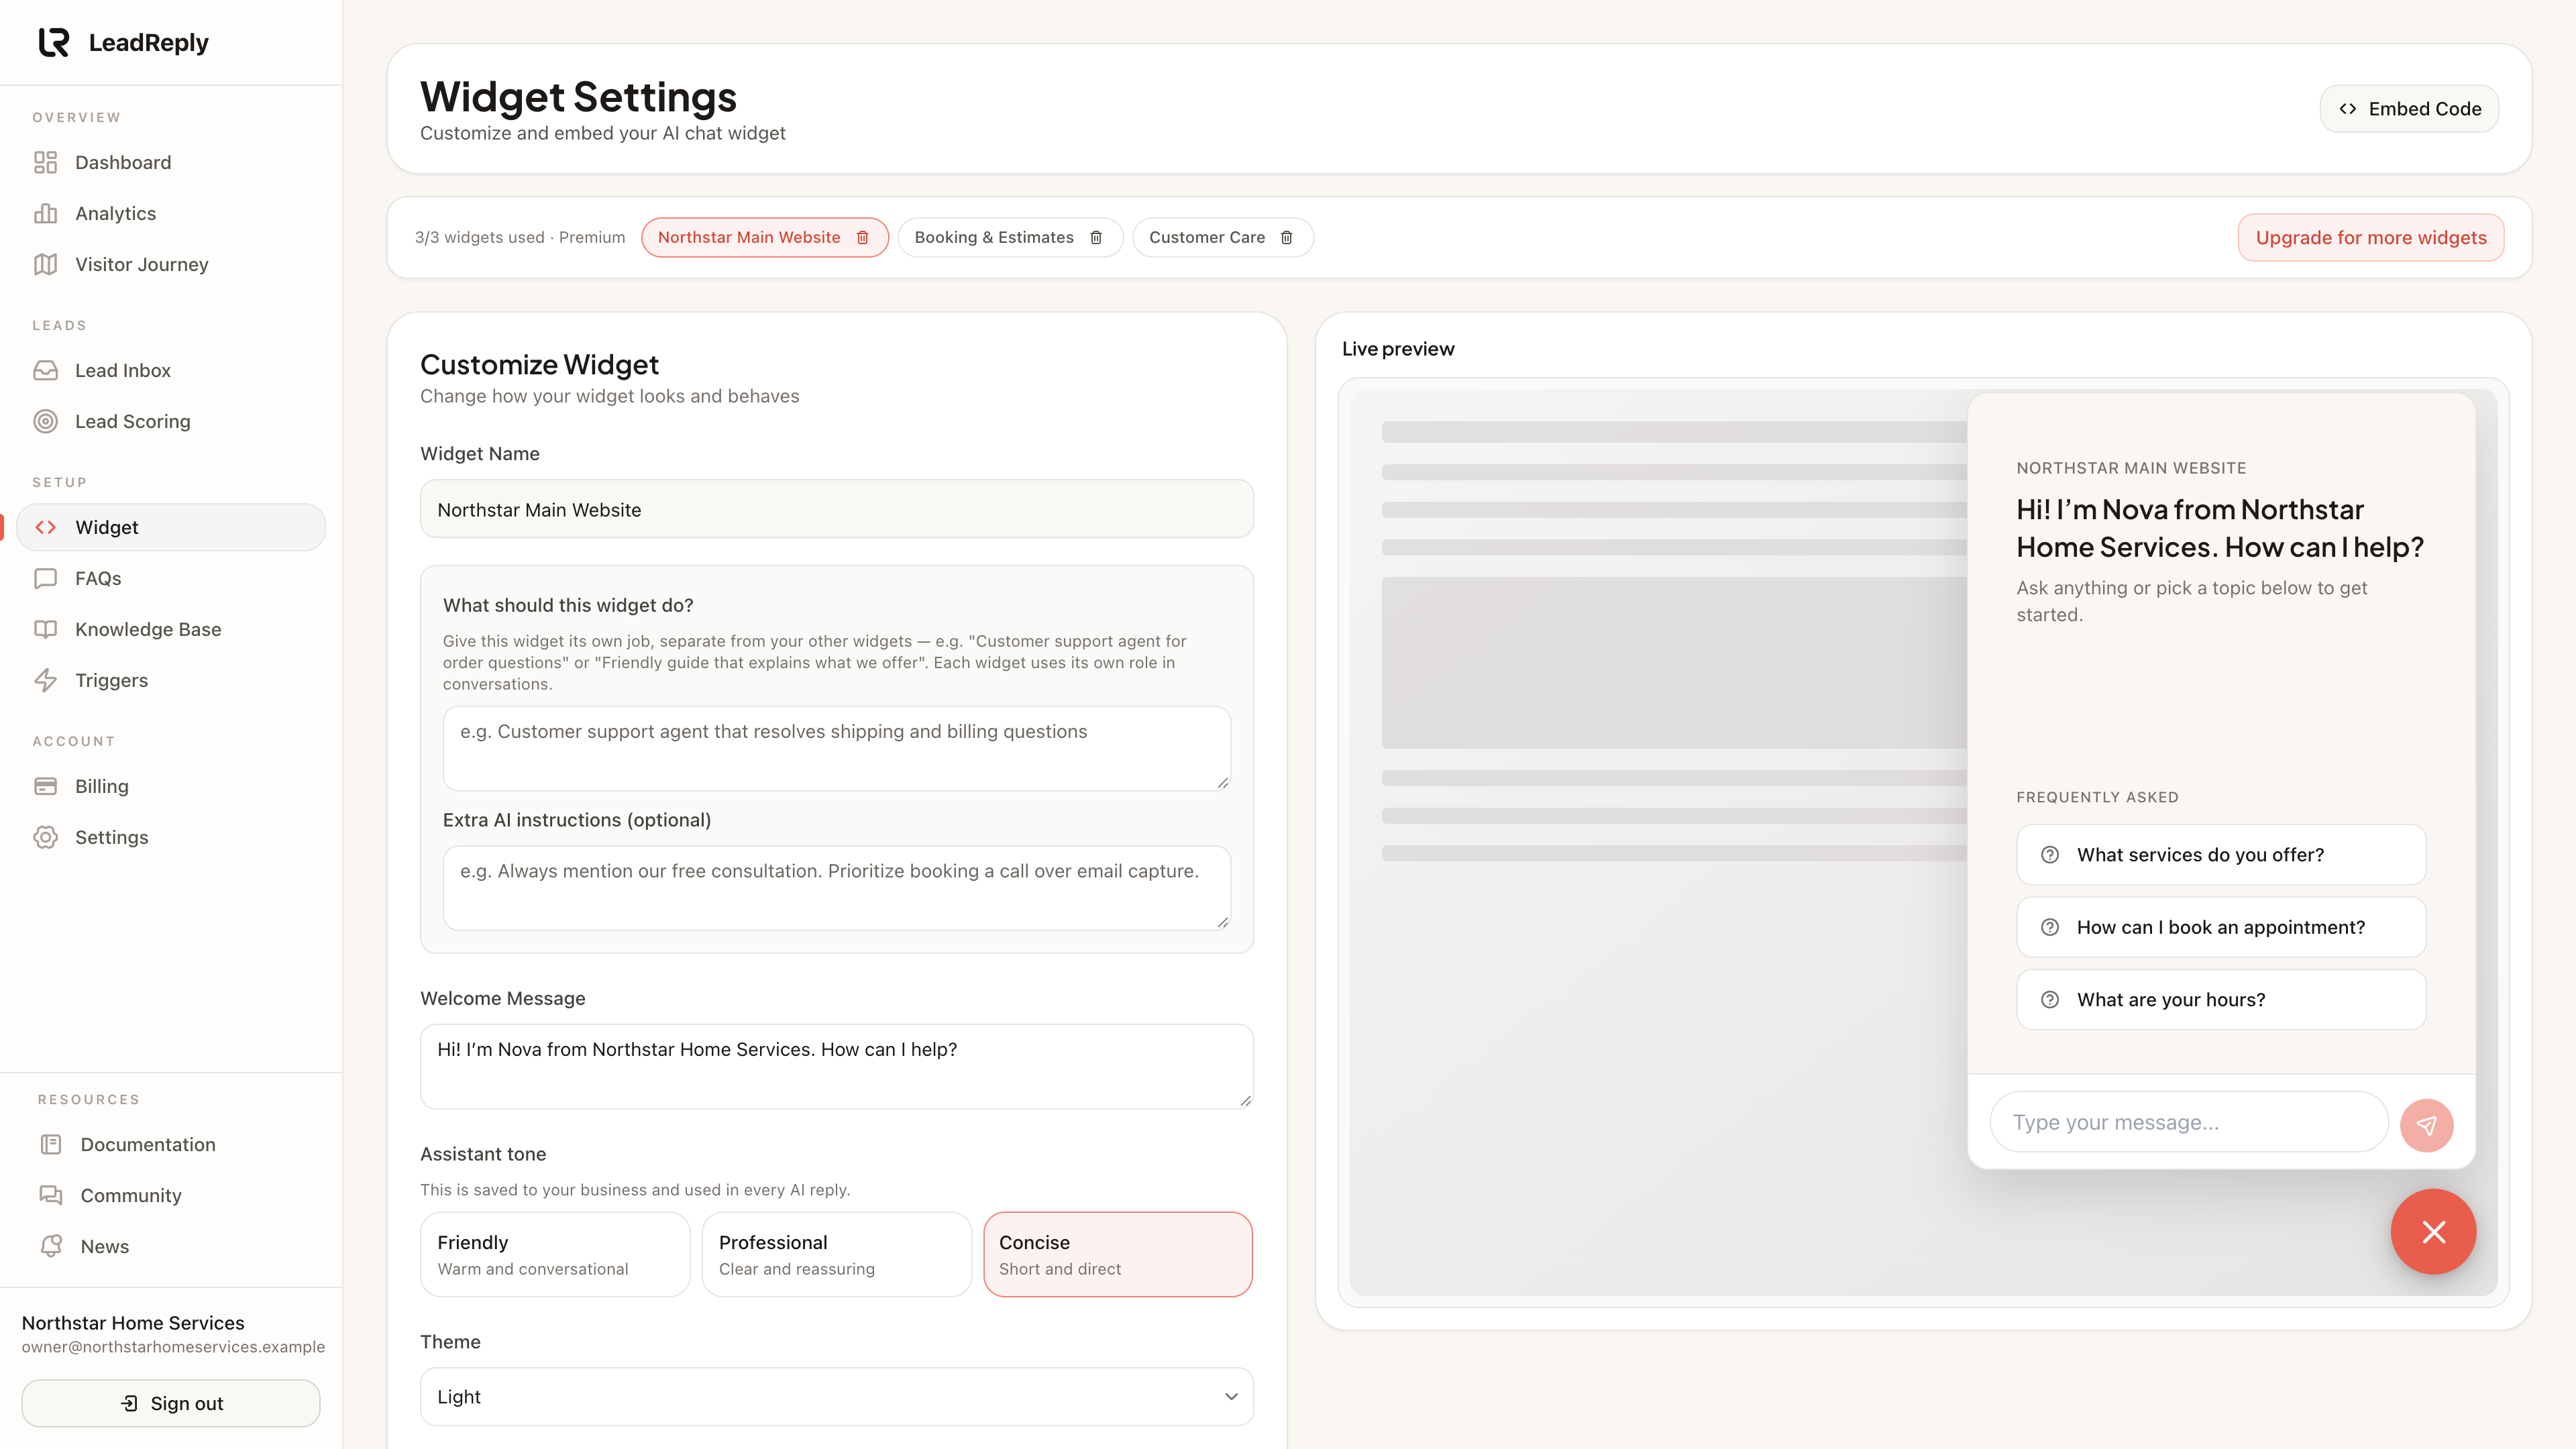
Open any page on your live site, then go back to Widget Settings. The install box changes to Installed and shows the site it saw, usually within a minute. Send yourself a test message. It should land in your Lead Inbox.
Troubleshooting
- The bubble doesn't appear: check that you replaced
YOUR_WIDGET_KEYand that the widget is active in Widget Settings. Add?leadreply_debug=1to your page's address and open the browser console to see each loading step. - It appears on some pages only: the snippet is missing from the other pages, or your page visibility setting limits where it shows.
- Your site sends a Content-Security-Policy header: allow LeadReply in it, or the browser blocks the widget:CSP
script-src https://leadreply.xyz connect-src https://leadreply.xyz frame-src https://leadreply.xyz - Ad blockers: some strict privacy extensions block third-party scripts. Test in a private window with extensions off to confirm the widget itself works.
- Caching plugins / CDNs: after installing, purge your cache so pages pick up the new script tag.
Still stuck? Email help@leadreply.xyz with your site URL. We usually reply within a business day.
Media
Previous
Widget overview
What the widget does on your site, end to end
Next
Install with AI
Prompts for AI code editors, Wix, Squarespace, WordPress and Shopify
Questions & answers
Ask about this page — the LeadReply team and other readers can answer and upvote.
Log in to ask a question, reply, or upvote. Reading is open to everyone.
Loading discussion…